> For the complete documentation index, see [llms.txt](https://docs.neevcloud.com/llms.txt). Markdown versions of documentation pages are available by appending `.md` to page URLs; this page is available as [Markdown](https://docs.neevcloud.com/neevcloud-products/volumes/initialize-new-volume-in-linux-server.md).
# Initialize New Volume in Linux Server
***
#### **Prerequisites**
Before starting:
* You are logged in as a **root** user or a user with **sudo privileges**.
* The **external disk** has been attached to your Linux VM via the **NeevCloud console**. [Link](https://docs.neevcloud.com/neevcloud-products/volumes/attach-volume-to-instance)
* You can verify the disk under **“Attached Volumes”** in your NeevCloud panel.
***
#### **Step-by-Step Instructions**
***
**List Available Disks**
Run the following command to check all available disks:
```bash
lsblk
```
Example Output:
```
NAME MAJ:MIN RM SIZE RO TYPE MOUNTPOINT
vda 252:0 0 40G 0 disk /
vdc 252:16 0 100G 0 disk
```
* Here, `vda` is your **root disk**.
* `vdc` is the **newly attached external disk** (unmounted).
***
**Create a Partition on the New Disk**
Use the `fdisk` command to create a partition:
```bash
sudo fdisk /dev/vdc
```
Then inside `fdisk`:
```
n → Create a new partition
p → Choose primary partition
1 → Partition number 1
→ Default first sector
→ Default last sector (use full size)
w → Write changes and exit
```
**Format the New Partition**
After partition creation, format it with the **ext4** filesystem:
```bash
sudo mkfs.ext4 /dev/vdc1
```
**Create a Mount Directory**
Create a directory where you want to mount the disk:
```bash
sudo mkdir /mnt/data
```
You can replace `/mnt/data` with any folder name (e.g., `/data`, `/backup`).
***
**Mount the Disk**
Now mount the new partition to the folder:
```bash
sudo mount /dev/vdc1 /mnt/data
```
Check if mounted successfully:
```bash
df -h
```
You should see an entry like:
```
/dev/vdc1 99G 60M 94G 1% /mnt/data
```
**Make Mount Persistent (After Reboot)**
Edit the `/etc/fstab` file:
```bash
sudo nano /etc/fstab
```
Add the following line at the end:
```
/dev/vdc1 /mnt/data ext4 defaults 0 0
```
Save and exit ( Enter, Ctrl + X, then press y and enter).
***
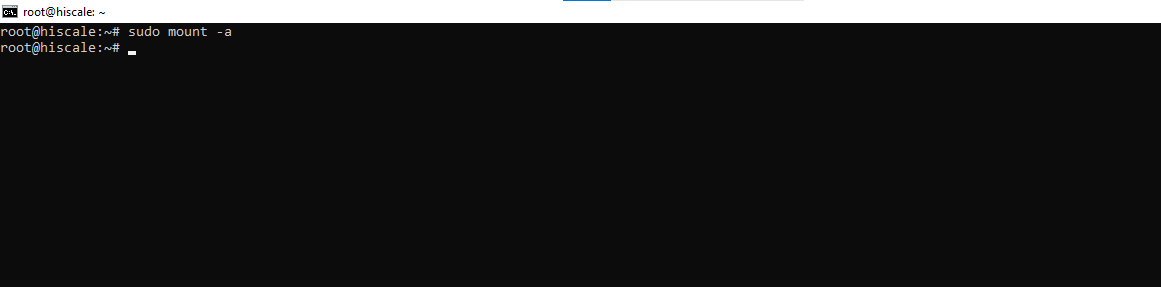
**Verify Configuration**
Test your fstab entry to ensure no syntax errors:
```bash
sudo mount -a
```
If no errors appear, the mount is configured correctly and will persist across reboots.
***
#### **Result**
You have successfully mounted and configured an external disk on your **NeevCloud Linux Server**.
The new storage is now available at `/mnt/data` (or your chosen directory).