> For the complete documentation index, see [llms.txt](https://docs.neevcloud.com/llms.txt). Markdown versions of documentation pages are available by appending `.md` to page URLs; this page is available as [Markdown](https://docs.neevcloud.com/neevcloud-products/volumes/initialize-new-volume-in-windows-server.md).
# Initialize New Volume in Windows Server
***
**Prerequisites**
* You must be logged in as **Administrator**.
* The new disk has been **attached** to your Windows Server via the NeevCloud dashboard. [Link](https://docs.neevcloud.com/neevcloud-products/volumes/attach-volume-to-instance)
* Remote Desktop (RDP) access is enabled.
***
**Step-by-Step Process**
**Open Disk Management**
* Press **Windows + R**, type `diskmgmt.msc`, and click **OK**.
* This opens the **Disk Management** window.
***
**Locate the New Disk**
* Scroll down and find the disk showing **“Unknown”** or **“Offline”** (e.g., *Disk 1*).
* It will appear with a **black bar** and label “Unallocated.”
***
**Bring the Disk Online**
* Right-click on the disk name (left side, e.g., *Disk 1*) → select **Online**.
***
**Initialize the Disk**
* Right-click again on the same disk → select **Initialize Disk**.
Choose **GPT (GUID Partition Table)** → click **OK**.
***
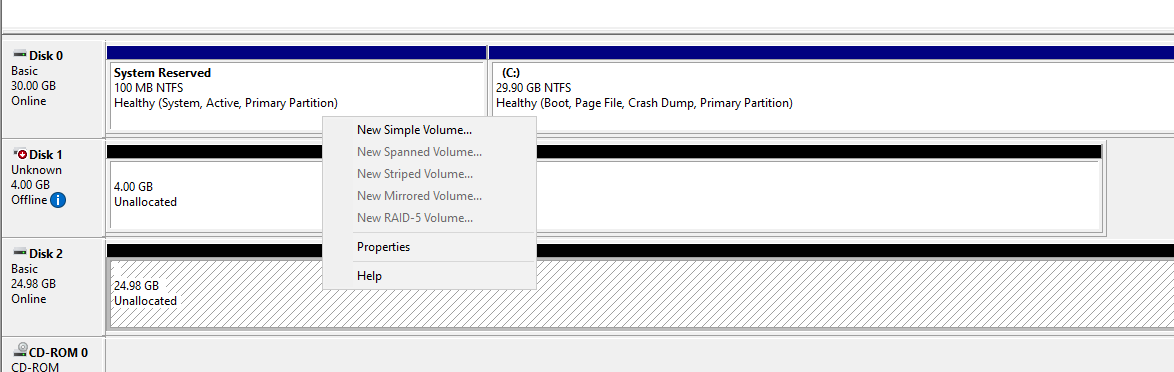
**Create a New Simple Volume**
* Right-click on the **Unallocated space** → select **New Simple Volume**.
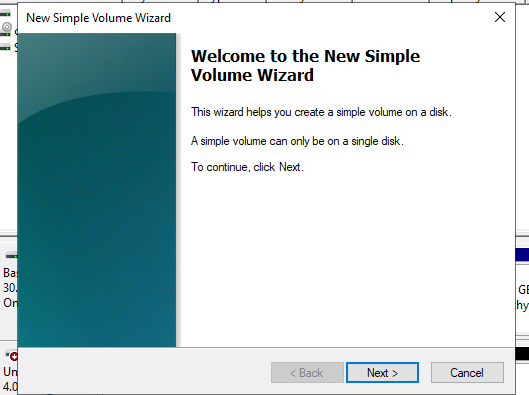
* The **New Simple Volume Wizard** will open.
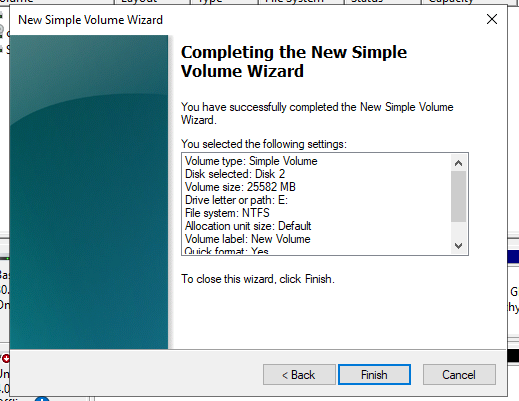
* Click **Next** until the end, keeping all default options:
* Use full disk size
* Assign any drive letter (e.g., E:)
* Format as **NTFS** with **Quick Format** checked
* Click **Finish**
***
**Verify Volume Creation**
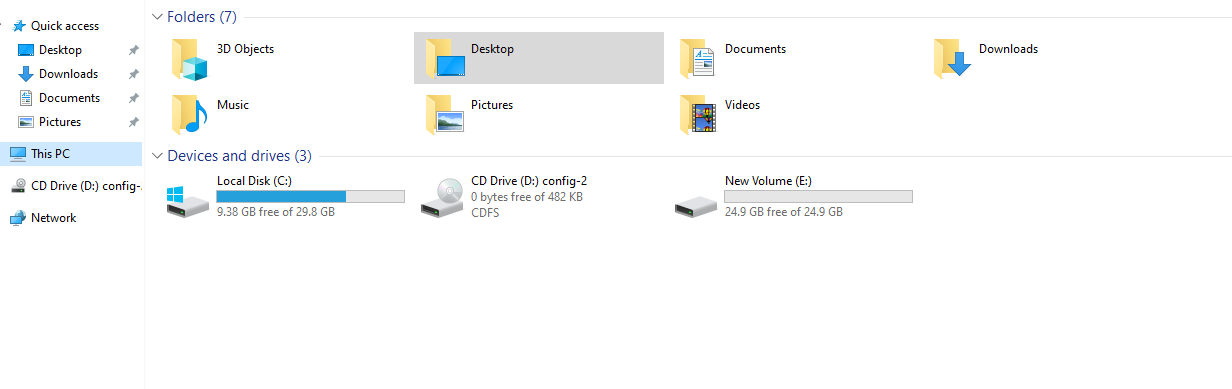
* Once completed, the new drive will appear as **Healthy (Primary Partition)** in Disk Management.
* Open **This PC** → The new drive (E:, F:, etc.) will now be visible and ready for use.