> For the complete documentation index, see [llms.txt](https://docs.neevcloud.com/llms.txt). Markdown versions of documentation pages are available by appending `.md` to page URLs; this page is available as [Markdown](https://docs.neevcloud.com/neevcloud-guide/neevcloud-knowledgebase/how-to-install-mysql-on-ubuntu-22.04/mysql-database-backup-and-restore-by-mysqldump.md).
# Mysql database backup and restore by mysqldump
In this guide, we will explain how to backup and restore a MySQL database using mysqldump, ensuring your data is secure and easily recoverable.
## MySQL: The Go-To Open-Source RDBMS
**MySQL** is a premier open-source Relational Database Management System (RDBMS) acclaimed for its ability to efficiently store, manage, and retrieve structured information. It serves as the backbone for a myriad of applications, ranging from modest personal projects to complex, high-traffic internet sites and sophisticated enterprise solutions.
Key highlights of MySQL include its high performance, robust reliability, seamless scalability, and user-friendly nature. Moreover, it boasts wide compatibility across leading operating systems such as Linux, macOS, Windows, and Ubuntu, making it a versatile solution for any environment.
## **Prerequisites: -**
Require two Ubuntu 22.04
mysql-server-8.0
### Update && upgrade
```
apt-get update -y && apt-get upgrade -y
```
### **Install MySQL**
Install MySQL by typing the following command:
```
apt-get install mysql-server-8.0 -y
```
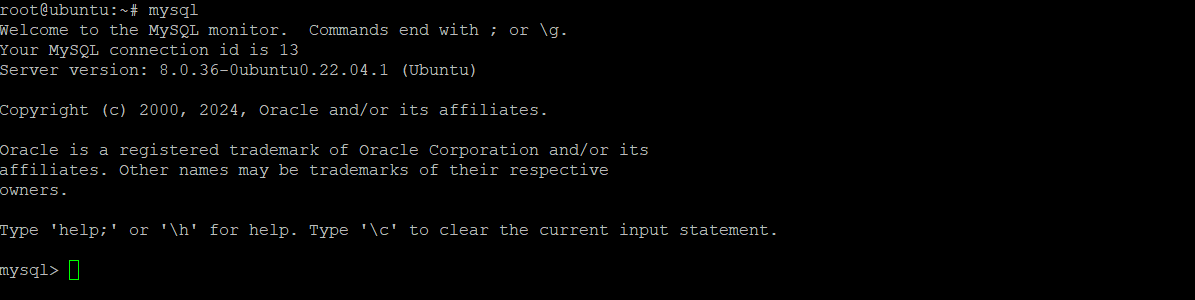
To secure the installation, **MySQL** inside-
### Create **MySQL** databas*e:*
```
mysql> create database testing_database;
```
Using testing database-
```
mysql> user tesing_database;
```
Create testing\_table in the testing\_database
```
mysql> create table testing_table (id int, name varchar(50), address varchar(50), primary key (id));
```
Insert data to testing\_table
```
mysql> insert into testing_table(id, name, address) values("001", "Ubuntu", "Hiroshima");
```
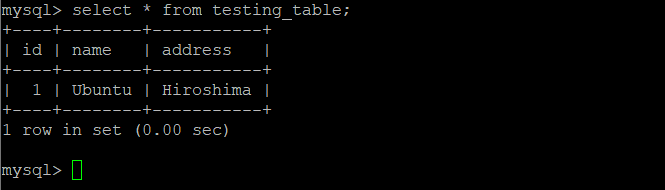
show testing\_table
```
mysql> select * from testing_table;
```
### TAKE MYSQL BACKUP AND RESTORE
```
mysqldump --lock-all-tables --all-databases --events > mysql_dump.sql
```
Dump all data without locking but with transaction-ensured data integrity by \[--single-transaction] option:-
Dump specific database:-
```
mysqldump test_database --single-transaction --events > mysql_dump.sql
```
### For Restore Database
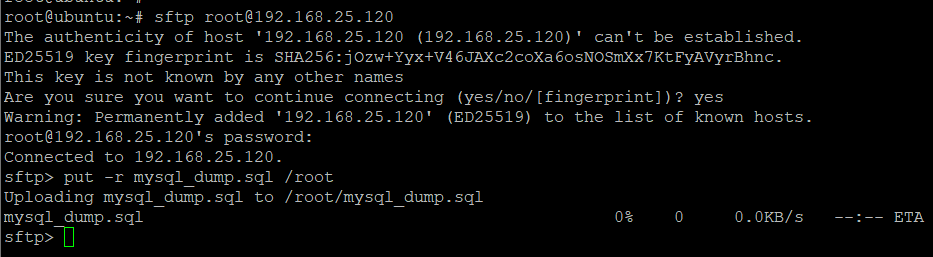
For restoring data from backup on another host, run as follows. Before restoring, transfer dump data to the target host with \[rsync] or \[scp] and so on.
Copy these mysql\_dump.sql another machine:
**$ sftp root\@another\_machine\_ip**
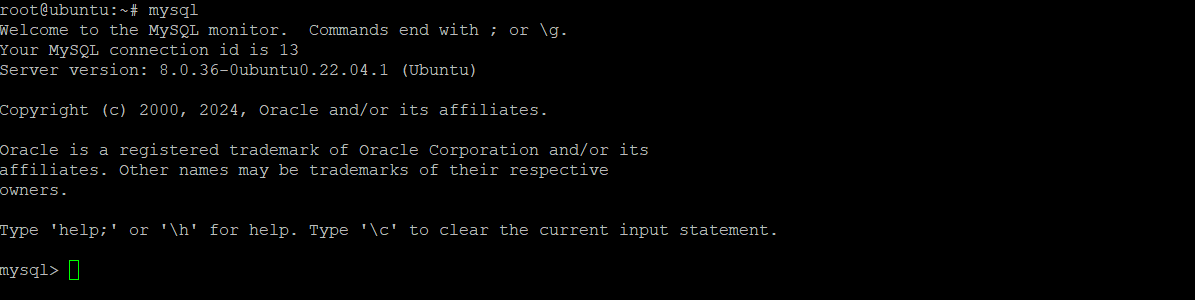
Go to another server machine:
```
apt-get install mysql-server-8.0 -y
```
```
mysql testing_database < mysql_dump.sql
```